

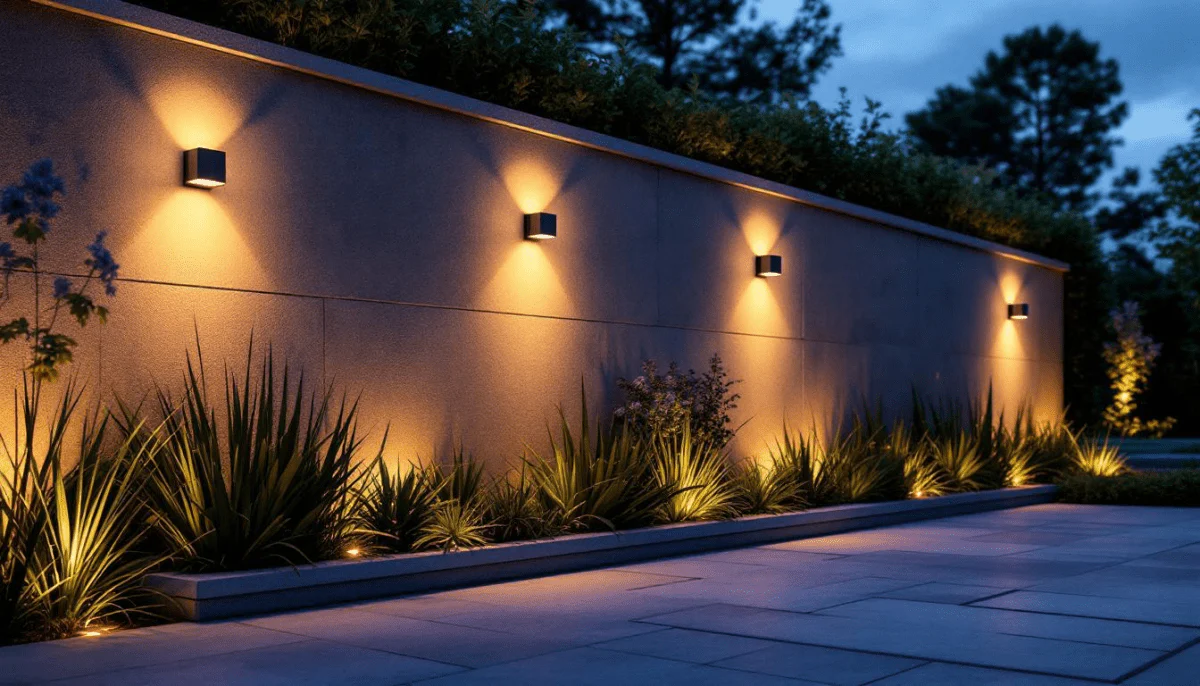
When the sun sets, a poorly lit backyard often becomes an unusable, dark void. Investing time and resources into a thoughtful landscape design pays off only when that environment can be enjoyed during the evening hours. Strategic outdoor illumination does more than just provide visibility; it shifts architectural focus, establishes emotional mood, and reclaims your square footage for nighttime relaxation and entertainment.
Transforming an outdoor space requires moving beyond basic utility lights. A professional landscape lighting scheme treats the backyard as a three-dimensional canvas, carefully balancing light and shadow. By understanding the core principles of illumination and utilizing modern, energy-efficient techniques, homeowners can create a dynamic sanctuary that showcases the property’s finest structural and natural features.
The Three Layers of Landscape Lighting
Achieving a high-end visual effect depends on a technique known as layering. Relying on a single type of light source makes a space look flat, clinical, or overly harsh. Designers combine three distinct functional categories of lighting to create visual depth and balance.
Ambient Lighting
Ambient lighting establishes the baseline level of visibility for the entire backyard environment. It provides a soft, general glow that prevents total darkness without overpowering the senses. This layer acts as the foundation of your lighting canvas, ensuring family members and guests can move comfortably throughout the space. Typical sources of ambient light include overhead fixtures on covered patios, widespread downlighting from large trees, and string lights hung across seating areas.
Task Lighting
Task lighting serves a clear, practical purpose, illuminating areas where specific activities take place. Safety and functionality drive this layer of the design. Kitchen counters, outdoor grilling stations, steps, pathways, and entryways all require focused task lighting to prevent accidents and facilitate night usage. This light should be bright enough to work by but carefully directed to avoid blinding anyone approaching the area.
Accent Lighting
Accent lighting introduces drama, texture, and artistic focus into the landscape. This layer draws the eye to unique structural details, mature trees, water features, or sculptural elements. By casting concentrated beams of light onto specific surfaces, accent lighting creates high-contrast shadows and focal points that give the backyard a distinctive personality after dark.
Core Techniques for Visual Impact
The magic of outdoor illumination relies entirely on how light interacts with physical objects. Different fixtures and angles produce completely different visual outcomes, allowing you to highlight the textures, heights, and shapes of your backyard elements.
Uplighting and Highlighting
Uplighting involves placing a fixture at ground level and directing the beam upward. This method is incredibly effective for showcasing structural columns, architectural masonry, and the intricate branch structures of mature trees. To create a natural appearance, place the fixture near the base of the object, angling the beam slightly inward to illuminate the trunk and lower canopy. This technique accentuates verticality and introduces a majestic scale to the property boundary.
Silhouetting and Shadowing
These two contrasting techniques use vertical surfaces, like retaining walls or home facades, to create artistic drama.
-
Silhouetting: Place a well-concealed light source directly behind a striking object, such as a sculpted shrub or a decorative metal screen, and aim it at a wall behind the item. The object stands out as a crisp, dark shape against a softly glowing background.
-
Shadowing: Position the light fixture in front of a tree or architectural element and project the light toward a wall. This casts a large, dancing shadow of the object onto the vertical surface, capturing the movement of leaves in the wind.
Moonlighting
Moonlighting is a highly sophisticated downlighting technique that mimics natural nocturnal light. To achieve this effect, fixtures are mounted high up in the branches of large, mature trees and directed downward through the foliage. As the light filters through the leaves and limbs, it projects soft, dappled patterns across the ground below. This creates a remarkably gentle, organic ambience that works beautifully over expansive lawns, patios, and driveways.
Path and Perimeter Lighting
Illuminating footpaths ensures physical safety while mapping out the flow of the entire landscape. Rather than placing fixtures in a rigid, straight line, which creates an unwanted runway effect, stagger path lights on alternating sides of a walkway. Position the fixtures low to the ground and choose designs that cast light downward rather than outward. This keeps the light focused exactly where feet tread while preventing harsh glare from hitting the eyes of walkers.
Selecting the Right Equipment and Power Systems
A successful lighting transformation requires selecting hardware designed to withstand severe weather changes while delivering consistent, high-quality illumination.
-
Low-Voltage Systems: Most modern residential projects utilize low-voltage systems that drop standard household electricity down to twelve or twenty-four volts. This system is exceptionally safe to install, highly energy efficient, and requires minimal disruption to your lawn, as the cables only need to be buried a few inches below the soil surface.
-
LED Technology: Light-emitting diode fixtures have completely replaced traditional halogen bulbs in professional designs. They consume a small fraction of the energy, generate virtually no heat, and can last for decades before needing a replacement.
-
Color Temperature Precision: The color tone of your bulbs alters the entire feel of the backyard. Avoid using cool blue-white lights, which feel institutional and clinical. Instead, select warm white bulbs rated between 2700K and 3000K on the Kelvin scale. This warm tone flatters natural stonework, brings out the lush green of foliage, and creates an inviting, cozy atmosphere for people.
Illuminating Specialized Features
If your backyard boasts specific custom amenities, tailored lighting solutions can turn them into jaw-dropping nighttime features.
Water Features and Pools
Lighting water adds a dynamic, mesmerizing element to the evening yard. For waterfalls and ponds, placing submersible lights directly underneath moving water creates an active, shimmering glow as the surface breaks the light beams. In swimming pools, flush-mounted underwater LED fixtures ensure swimmer safety while turning the body of water into a glowing jewel that acts as the primary visual anchor for the entire landscape.
Outdoor Living Rooms and Fire Zones
Patios, decks, and outdoor kitchens require flexible lighting controls to accommodate changing uses. Install dimmable under-cap lights beneath the edges of seating walls and stone countertops. This provides a soft perimeter glow when you want a relaxed mood around a fire pit, but can be brightened when preparing food or hosting large gatherings.
Frequently Asked Questions
How do I prevent my outdoor lighting from contributing to light pollution or disturbing my neighbors?
Responsible outdoor lighting relies on a concept known as shielding. Choose fixtures that feature solid tops and directional shrouds, which force the light downward toward the target surface rather than letting it scatter upward into the night sky or sideways into a neighbor’s window. Additionally, avoid over-illuminating your property; a few well-placed, low-wattage fixtures create a more elegant, private atmosphere than flooding the entire yard with bright, unshielded beams.
What are the primary differences between solid brass and aluminum fixtures regarding long-term durability?
Solid brass and copper are considered investment-grade materials for landscape lighting because they do not rust or corrode when exposed to soil moisture and fertilizer chemicals. Over time, brass naturally oxidizes into a beautiful dark patina that blends seamlessly into the surrounding plants. Powder-coated aluminum fixtures are more budget-friendly initially, but the finish eventually bubbles, chips, and fades due to ultraviolet sun exposure, typically requiring replacement within a few years.
Can I effectively integrate smart home automation into a low-voltage outdoor lighting system?
Smart automation can be easily integrated into low-voltage setups by installing a smart timer or Wi-Fi-enabled controller into the main transformer box. This allows you to split your backyard into independent lighting zones. For example, you can program path lights to turn off automatically at midnight for security, while keeping subtle accent lights on mature trees running until dawn. You can also adjust brightness levels directly from a smartphone application.
How does winter weather and freezing temperatures affect a low-voltage lighting system?
Low-voltage systems and LED fixtures perform exceptionally well in cold temperatures, as the cold environment actually increases the operating efficiency of LED components. The primary risk during winter is physical damage from snow removal tools or ground shifting due to frost heaving. To protect your system, ensure all ground stakes are firmly driven into the soil and check that fixture lenses remain clear of heavy snow accumulation to prevent ice dams from forming around the seals.
What is the best way to clean and maintain landscape lights to keep them looking bright?
Over time, outdoor fixtures accumulate dirt, mineral scale from irrigation systems, and insect debris, which significantly reduces light output. Twice a year, wipe down the glass lenses with a soft cloth dipped in a mild water and vinegar solution to dissolve hard water spots. Trim back any fast-growing plant foliage that has started to block the fixture’s beam, and check ground stakes to ensure lawnmowers have not knocked the lights out of alignment.
Is it safe to run low-voltage lighting cables underneath a poured concrete walkway or driveway?
It is entirely safe, but it requires advance planning. If you are pouring a new concrete path or driveway, you must lay down a rigid plastic conduit sleeve beneath the base layer before the concrete is poured. This sleeve allows you to easily slide your low-voltage cables through later. If the concrete is already existing, you will need to use a specialized pressure-washer tunneling tool to clear a small path through the dirt underneath the slab to slide the wires across safely.

Comments are closed.